
Related
-
Magisk 101
:How to Install Magisk & Root with TWRP
-
How To
:Fix Play Store Uncertified Errors When You Forget to Flash Magisk
-
Magisk 101
:How to Install Magisk Modules from the Repo or Third-Party Sources
-
News
:T-Mobile Galaxy S8 Update Breaks SafetyNet & Android Pay
-
Magisk 101
:How to Switch from SuperSU to Magisk & Pass SafetyNet
-
SafetyNet Explained
:Why SafetyNet Shows That Google Actually Cares About Android Root
-
How To
:Use Twitter Custom Timelines
-
Tasker 101
:How to Import Tasks & Profiles
-
How To
:Use the align command to fix normals in modo 101
-
News
:Rooters Beware, Google Will Soon Start Locking You Out of Apps
-
News
:Google»s March Security Update Breaks Android Pay on Some Pixel & Nexus Devices
-
Tasker 101
:How to Create an Exit Task
-
How To
:Root Your OnePlus 6 with Magisk — A Beginner»s Guide
-
How To
:Root Your OnePlus 6T with Magisk
-
How To
:Easily Change Your Phone»s Font Without Tripping SafetyNet
-
News
:Good place to set up a profile
-
How To
:fix the error «transaction was not successful»
-
Возможно, будет полезно почитать:
- Скромность: украшает ли она человека? ;
- День бородинского сражения Ход Бородинского сражения ;
- Корень n-ой степени: определения, обозначение, примеры Извлечение корней из больших чисел ;
- Смотреть что такое «Лас Касас, Бартоломе де» в других словарях ;
- Луций юний брут Консул Римской республики ;
- Проблемы и аргументы к сочинению на ЕГЭ по русскому на тему: Влияние учителя Проблема влияния учителя на выбор жизненного пути ;
- Николай Кузнецов: как погиб знаменитый советский разведчик ;
- Производная функции f x х ;
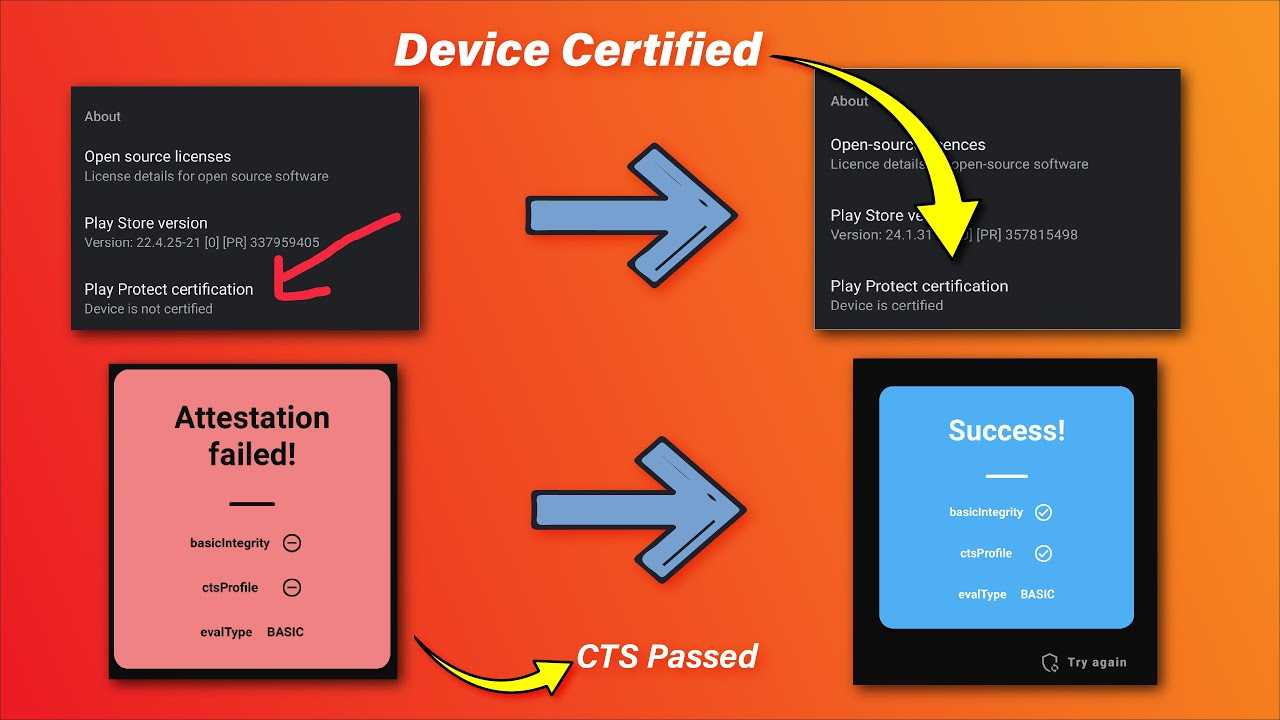
Step 5: Custom ROM? Try a Custom Kernel
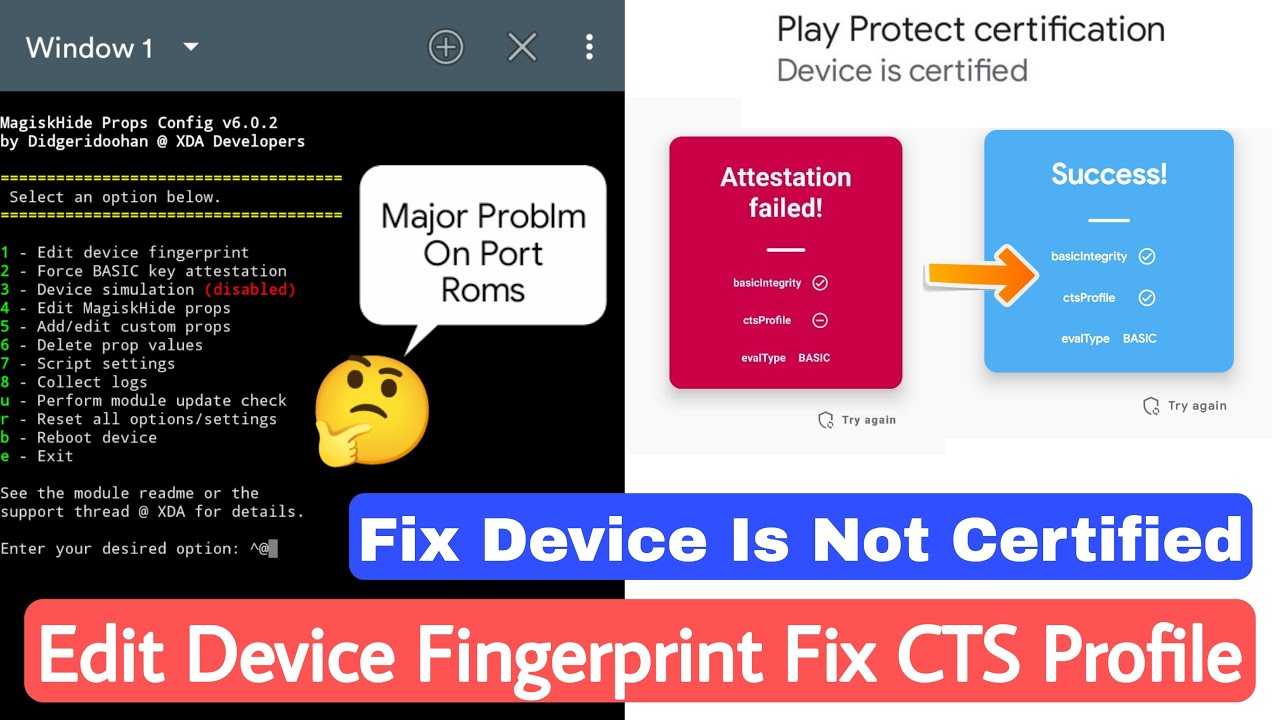
As I mentioned earlier, CTS
stands for «Compatibility Test Suite.» This is the process Google uses to verify that a device and its firmware meet certification standards, and to put it simply, a will never officially pass this test.
However, some custom kernels can help with this issue. The most popular kernel that»s been known to help with custom ROM incompatibility is Franco Kernel. It»s available for all Nexus, Pixel, and OnePlus devices, as well as the Redmi Note3, and the easiest way to install it would be to purchase the FKU app
, then tap the «Download» button on the main page. Otherwise, you can search your device»s XDA forum to find a free flashable ZIP.
![]()
![]()
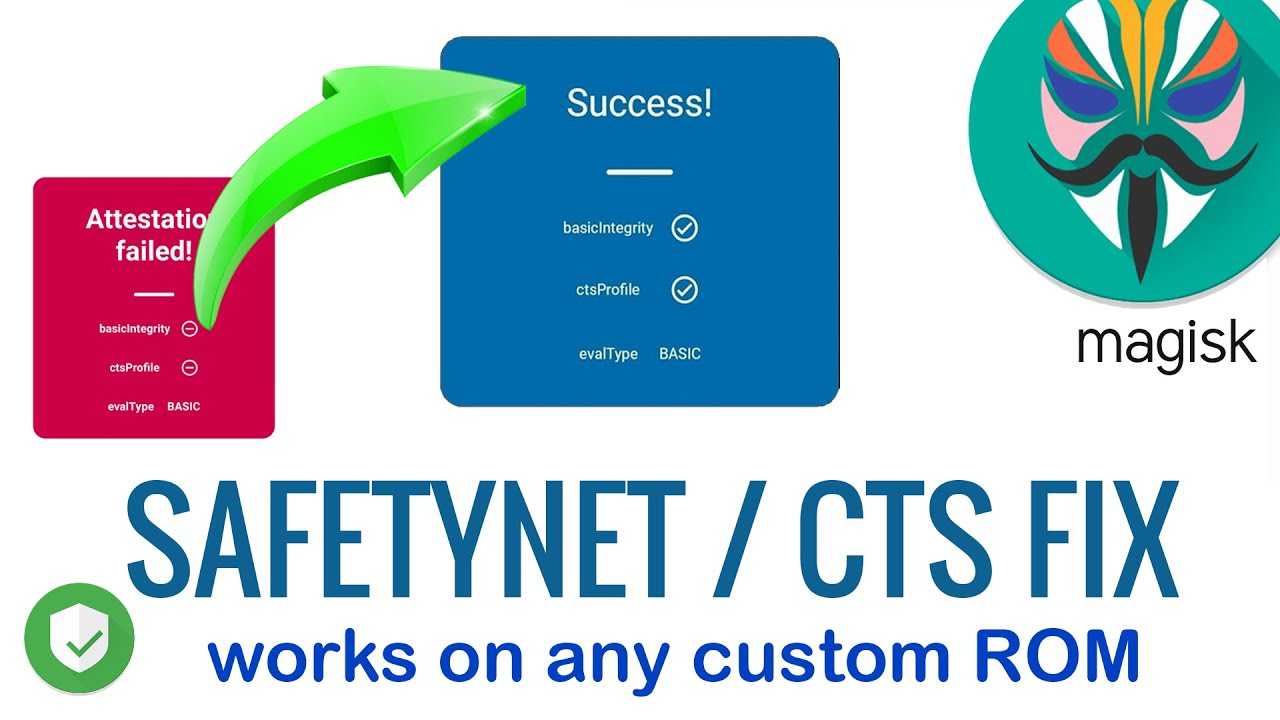
For some custom ROMs (particularly Lineage OS), this option may not fully solve the problem. However, many apps that use SafetyNet only check one CTS-related aspect called «Basic Integrity,» and flashing Franco kernel will usually fix that aspect. So while Magisk Manager may still report a CTS mismatch, you may very well be able to use all of your apps now.
Finally, for Xiaomi users that are running a custom ROM, there»s another option. This Magisk module by developer Deic will reportedly make your phone pass the CTS test, so try installing it, then rebooting.
Step 5: Custom ROM? Try a Custom Kernel
As I mentioned earlier, CTS
stands for «Compatibility Test Suite.» This is the process Google uses to verify that a device and its firmware meet certification standards, and to put it simply, a will never officially pass this test.
However, some custom kernels can help with this issue. The most popular kernel that»s been known to help with custom ROM incompatibility is Franco Kernel. It»s available for all Nexus, Pixel, and OnePlus devices, as well as the Redmi Note3, and the easiest way to install it would be to purchase the FKU app
, then tap the «Download» button on the main page. Otherwise, you can search your device»s XDA forum to find a free flashable ZIP.
![]()
![]()
For some custom ROMs (particularly Lineage OS), this option may not fully solve the problem. However, many apps that use SafetyNet only check one CTS-related aspect called «Basic Integrity,» and flashing Franco kernel will usually fix that aspect. So while Magisk Manager may still report a CTS mismatch, you may very well be able to use all of your apps now.
Finally, for Xiaomi users that are running a custom ROM, there»s another option. This Magisk module by developer Deic will reportedly make your phone pass the CTS test, so try installing it, then rebooting.
Step 8: If All Else Fails, Start from Scratch
We»ve saved this step for last because it»s a catchall solution, but it»s a painful pill to swallow. If all else fails, simply restore your device»s stock firmware, reinstall custom recovery, then flash the Magisk ZIP that you can download in the Magisk Manager app. This will work in almost all cases.
The process of restoring your stock firmware will vary depending on the device, but if your phone has a bootloader menu that supports Fastboot commands, we»ve covered the process at . Failing that, your best bet would be to do a Google search for «restore stock firmware .» When you»re done there, you can reference for re-installing TWRP.
So have you finally solved your CTS profile mismatch issues? Do you have any other tips that will help get people past that dreaded SafetyNet check? If so, drop us a line in the comment section below.
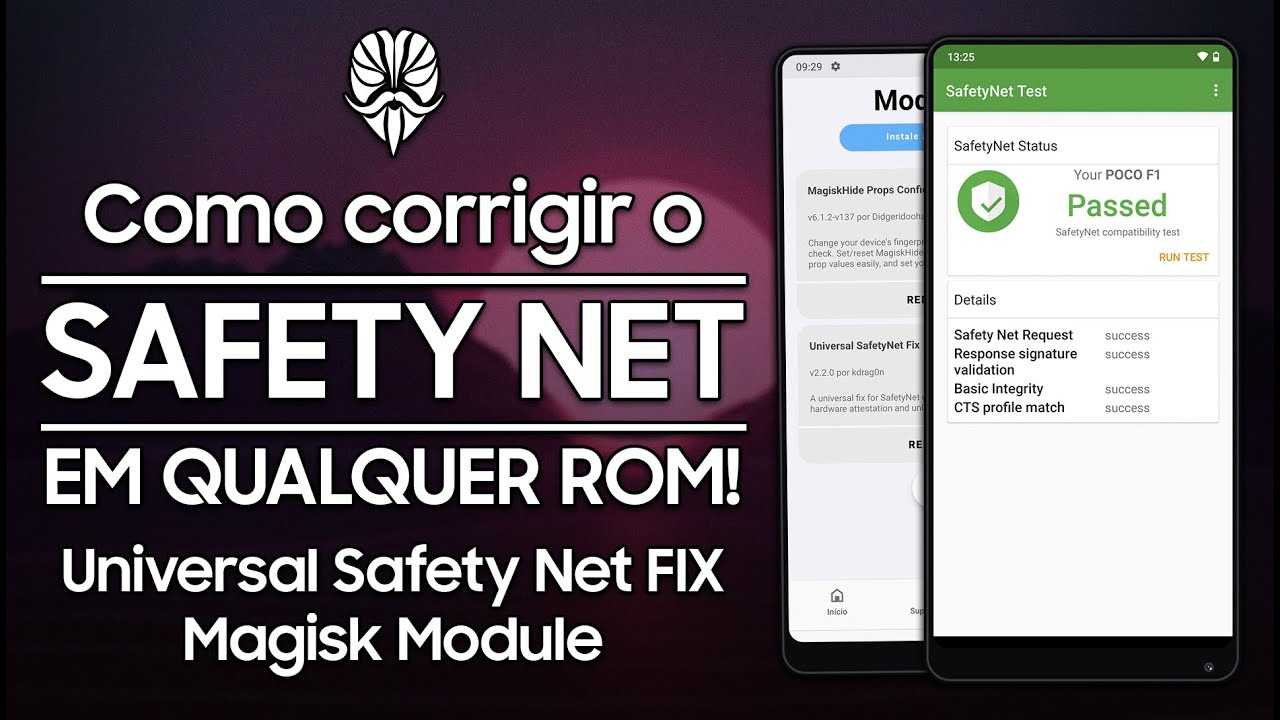
Install a Custom Kernel
If you are using a Custom ROM then obviously your device won’t pass Google’s certification tests and as result might face CTS profile mismatch errors. However, to overcome this issue you need to install a custom kernel called “Franco Kernel”. And to install Franco Kernel you need to buy an app called “Franco Kernel Updater” or “FKU”. Once FKU is installed, open it and Tap on “Download” option.
By now you must have got ridden of the CTS Profile Mismatch Errors, but if, the error is still popping up then you must take the hard route. You will have to take things from scratch like flash Stock ROM, install TWRP, and flash Magisk ZIP. We hope it doesn’t come to this. Please let us know at which point you stopped facing CTS Profile Mismatch Errors.
* Recommended to upload a 720*312 image as the cover image
Article Description
MIUI Еженедельные советы от Ru_Ivan #47 — Решение проблемы с SafetyNet при помощи: Magisk+Magisk safetynet fix.У Вас установлен Magisk, но что бы Вы ни делали при проверке SafetyNet у вас возникает проблема с ctsProfile. Решить эту проблему вполне возможно. Не будем тянуть время и перейдем к решению.Что нужно сделать:Первым делом — делаем полный бекап системы!Заряд батареи не менее 60%За все действия над устройством несете ответственность только Вы.Для Magisk ver 13.x/14.01. Для Magisk версии Magisk 13.х/14.0, версии 15+ не поддерживается. Нужно: скачать фикс для SafetyNet с XDA.2. Установить используя Magisk — модули, либо TWRP.3. Перезагрузить смартфонДля Magisk 15.xОгромная благодарность — Eni_Fadilah за статью на en.miui.com, в которой был выложен файл фикса SafetyNet универсайльный, но подготовленый для Redmi 4X (Santony). — Если у Вас Redmi 4x (Santony):1. Качаем фикс SafetyNet (оригинал) — Google disk2. Устанавливаем при помощи Magisk manager или TWRP3. Перезагружаем смартфонЧто в пакете?Помимо всего прочего:- SafetyNet Fix- Разблокирует полноэкранные функции- Boot анимация Miui 9- Selinux Permissive mode- Build.prop Tweak- Папка 4X3 (Launcher)- Шторка 5X3- Ручной режим в камере- Захват объекта нажатием на экран в камере- Меняет host- Открывает меню выбора цвета светодиода (не обольщайтесь на многих моделях действительно только белый цыет работает)Первый метод помогает и на др. моделях смартфонов, но лично я не хочу терять свой файл host. И в настройках системы мне не нужны разные цвета индикатора, т.к. он у меня не RGB, а просто белый. А также изменения в сетки рабочего стола и шторке – я для себя давно уже сделал необходимые изменения интерфейса и мне этого достаточно.- Если Вы все же хотите минимум изменений и чтобы проходил SafetyNet, но смартфон у Вас не SANTONY:1. Качаем отредактированный mod (проверена работа на Redmi 5 plus с прошивкой MIUI.su, бетка)2. Устанавливаем также через Magisk manager или TWRP3. Перезагружамем смартфон.P.S. некоторая часть изменений все же произойдет в системе, не критичные изменения.- Если есть желание, то можно к Magisk_у плюсом внести изменения в build.prop, который находится.\system\ Изменения необходимо произвести всего в двух строках:ro.build.description=xxxxro.build.fingerprint=xxxxзначения этих строк (вместо хххх необходимо скопировать и вставить от Глобальной стабильной версии)Файл build.prop от Redmi 5 plus Global Stable — (удаляем.zip)НЕ ЗАБЫВАЕМ: в пункте Magisk Hide выбрать программы от которых прятать Root.Скриншоты сделаны на XIAOMI Redmi 5 plus.Google play market стал считать прошивку от MIUI.su (beta) за сертифицированную.Статьи из раздела Инструкция по установке MagiskЧто есть Magisk
Because of Android»s new system, certain apps can now block rooted users or prevent you from accessing them altogether — but at least for now, there are still ways around these restrictions.
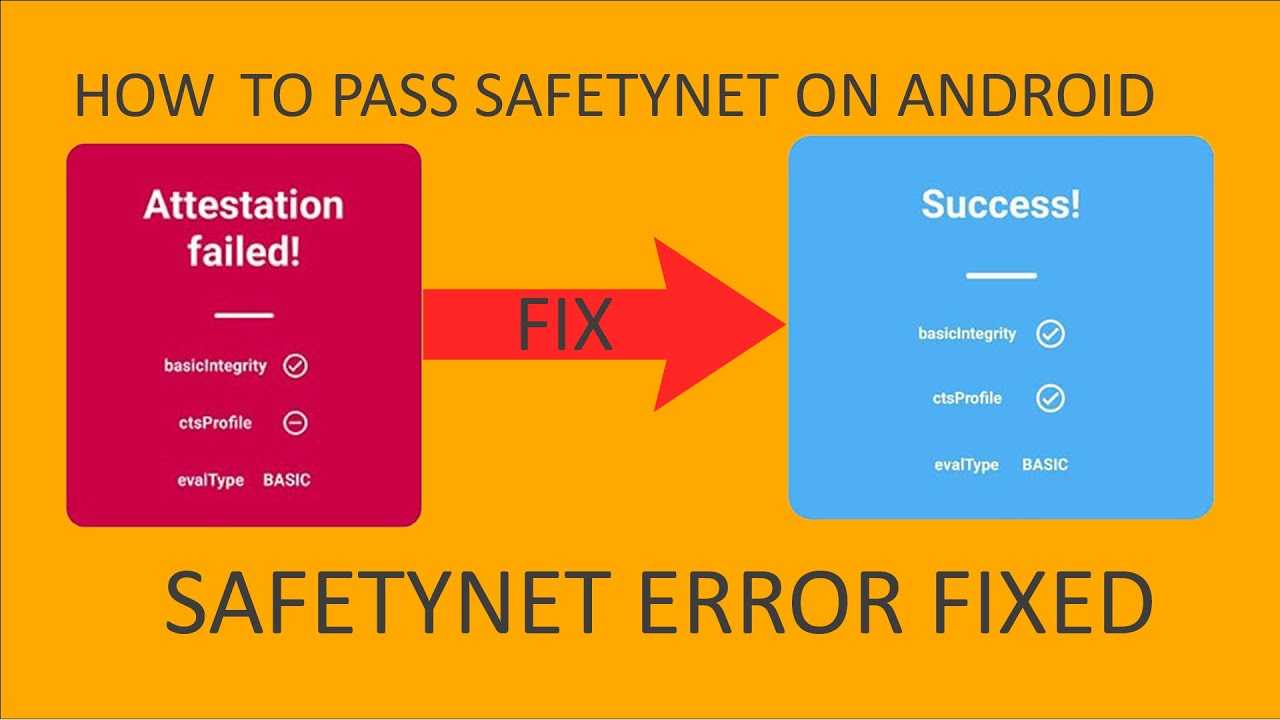
You can pass most of SafetyNet»s checks with and , but Google»s (CTS) remains a hurdle in some cases. With certain setups, you»ll still get a «CTS Profile Mismatch» error that causes the SafetyNet check to fail, even with Magisk installed.
If this has happened to you, there are a number of potential causes, ranging from incompatible root management apps to issues with Magisk Hide. So to help you get to the bottom of the issue, we»ll go over seven solutions below.
Switch From SuperSU to MagiskSU to bypass SafetyNet
CTS Profile Mismatch Error is, in majority cases, caused because of the root management app. SuperSU is one of the most popular root management app in the market. But unfortunately, it’s not systemless and doesn’t hide from SafetyNet. Therefore, it’s highly likely that you will face CTS profile mismatch errors. So, first thing you need to do is to switch from SuperSU to MagiskSU to Fix CTS profile mismatch errors. Follow below steps carefully to successfully switch from SuperSU to MagiskSU.
- Uninstall Xposed Installer if it’s already installed on your device. To keep using Xposed modules, you can install systemless version of Xposed using Magisk. Once it’s uninstalled, reboot your device.
- As you rooted your device so it’s obvious that you must have installed apps which changed the core system files. You need to uninstall all such apps, or undo any changes made in the system files. The easiest way to revert back all the changes is to Flash the Stock System Image of your phone.
- Now you need to Unroot your Android Device. To do so, launch SuperSU and head towards Settings. In Settings, you will find an option called “Full Root”, tap on it and then tap on Continue. Here tap on “Yes” when it asks you that if you want to restore the stock boot image.
- Next, it will ask if you want to restore the stock recovery image. Tap on “No” option as TWRP custom Recovery is required to flash Magisk.
- Now open the Magisk Manager App and head towards the Install section. Here tap on the option named “Download”. Once the file is downloaded, reboot your device into recovery mode. Once you are in TWRP menu tap on Install and select Magisk.zip from the MagiskManager folder. To install the ZIP file, slide the button to the right and when finished, tap on ‘Reboot System.’
- Now go to Magisk Manager App >> Settings >> here enable Magisk Hide, BusyBox , and Systemless hosts options. The last thing is to clear Google Play Store data, to do so go to Settings > Apps > Play Store > Manage Space > Clear Data.
This is it! This should fix CTS profile mismatch errors. If the error is still bothering you then head towards the next solution.
Инструкция как исправить: «SafetyNet не пройден: несовпадение профиля CTS» в Magisk
Ниже будут представлены 6 шагов для исправления «SafetyNet не пройден».
Шаг 1 — Избавиться от SuperSU
Если вы получали Root права с помощью ZIP файла SuperSU или CF Auto Root, который установил SuperSU на ваш Android, а после решили поменять на Magisk, то это может быть первой проблемой с SafetyNet.
Удалите SuperSu из вашего смартфона или планшета, а после прошить в Recovery файл UPDATE-unSU-signed.zip чтобы полностью вычистить все из системы.
![Fix safetynet: cts profile mismatch errors [working guide] – tricksfolks](https://miggim.ru/wp-content/uploads/5/8/7/587a985ee85fcce9e43f2aefd2c568de.jpeg)

Шаг 2 — Изменить режим SELinux
Попробуйте установить режим работы SELinux в «Permissive», а после вернуть обратно «Enforcing» и перезагрузить Android.
Шаг 3 — Отключить «отладку по USB»
Если у вас до последнего момента у вас была включена «отладка по USB«, тогда перейдите в меню «Настройки»-> «Для разработчиков» и отключить «отладку» и перезагрузить Android.
Шаг 4 — Используете другое ядро
Поищите в сети интернет стороннее ядро для своего Android, после чего проверьте не исчезла ли проблема в Magisk «SafetyNet не пройден: несовпадение профиля CTS».
Шаг 6 — включить режим Magisk Core Only Mode
Если все предыдущее шаги вам не помогли, тогда попробуйте включить режим работы Magisk Core Only Mode, который отключает дополнительные возможности Magisk.
Шаг 7 — добавить строки build.prop
С оригинальной прошивки (если вы используете кастом) в файле build.prop, который находиться в разделе /system, скопируйте поля со значения:
И добавьте их в файл build.prop установленной прошивки.
Шаг 8 — ввести команду в терминале
Установите приложение терминал на Android и введите в него следующие команды:
su sh /magisk/.core/magiskhide/disable sh /magisk/.core/magiskhide/enable
Шаг 9 — Начать все с начала
Если вам ничего не помогло, тогда попробуйте переустановить прошивку на вашим Android, а после получить Root с помощью Magisk, чтобы избавиться от проблемы «SafetyNet не пройден: несовпадение профиля CTS».
Вот и все! Больше статей и инструкций читайте в разделе Статьи и Хаки Android. Оставайтесь вместе с сайтом Android +1, дальше будет еще интересней!
Источник
Как воспользоваться программой Magisk?
собственных Root-прав
Решение проблемы с Google Pay:
**
В случае, если Вы не хотите устанавливать Magisk и остальное стороннее ПО, существует более простой способ скрытия Root-прав и/или разблокированного загрузчика от Google Pay: необходимо заменить две строчки (имя производителя и модель смартфона) в файле build.prop
(например, с помощью
* Recommended to upload a 720*312 image as the cover image
Article Description
MIUI Еженедельные советы от Ru_Ivan #47 — Решение проблемы с SafetyNet при помощи: Magisk+Magisk safetynet fix.У Вас установлен Magisk, но что бы Вы ни делали при проверке SafetyNet у вас возникает проблема с ctsProfile. Решить эту проблему вполне возможно. Не будем тянуть время и перейдем к решению.Что нужно сделать:Первым делом — делаем полный бекап системы!Заряд батареи не менее 60%За все действия над устройством несете ответственность только Вы.Для Magisk ver 13.x/14.01. Для Magisk версии Magisk 13.х/14.0, версии 15+ не поддерживается. Нужно: скачать фикс для SafetyNet с XDA.2. Установить используя Magisk — модули, либо TWRP.3. Перезагрузить смартфонДля Magisk 15.xОгромная благодарность — Eni_Fadilah за статью на en.miui.com, в которой был выложен файл фикса SafetyNet универсайльный, но подготовленый для Redmi 4X (Santony). — Если у Вас Redmi 4x (Santony):1. Качаем фикс SafetyNet (оригинал) — Google disk2. Устанавливаем при помощи Magisk manager или TWRP3. Перезагружаем смартфонЧто в пакете?Помимо всего прочего:- SafetyNet Fix- Разблокирует полноэкранные функции- Boot анимация Miui 9- Selinux Permissive mode- Build.prop Tweak- Папка 4X3 (Launcher)- Шторка 5X3- Ручной режим в камере- Захват объекта нажатием на экран в камере- Меняет host- Открывает меню выбора цвета светодиода (не обольщайтесь на многих моделях действительно только белый цыет работает)Первый метод помогает и на др. моделях смартфонов, но лично я не хочу терять свой файл host. И в настройках системы мне не нужны разные цвета индикатора, т.к. он у меня не RGB, а просто белый. А также изменения в сетки рабочего стола и шторке – я для себя давно уже сделал необходимые изменения интерфейса и мне этого достаточно.- Если Вы все же хотите минимум изменений и чтобы проходил SafetyNet, но смартфон у Вас не SANTONY:1. Качаем отредактированный mod (проверена работа на Redmi 5 plus с прошивкой MIUI.su, бетка)2. Устанавливаем также через Magisk manager или TWRP3. Перезагружамем смартфон.P.S. некоторая часть изменений все же произойдет в системе, не критичные изменения.- Если есть желание, то можно к Magisk_у плюсом внести изменения в build.prop, который находится.\system\ Изменения необходимо произвести всего в двух строках:ro.build.description=xxxxro.build.fingerprint=xxxxзначения этих строк (вместо хххх необходимо скопировать и вставить от Глобальной стабильной версии)Файл build.prop от Redmi 5 plus Global Stable — (удаляем.zip)НЕ ЗАБЫВАЕМ: в пункте Magisk Hide выбрать программы от которых прятать Root.Скриншоты сделаны на XIAOMI Redmi 5 plus.Google play market стал считать прошивку от MIUI.su (beta) за сертифицированную.Статьи из раздела Инструкция по установке MagiskЧто есть Magisk
Because of Android»s new system, certain apps can now block rooted users or prevent you from accessing them altogether — but at least for now, there are still ways around these restrictions.
You can pass most of SafetyNet»s checks with and , but Google»s (CTS) remains a hurdle in some cases. With certain setups, you»ll still get a «CTS Profile Mismatch» error that causes the SafetyNet check to fail, even with Magisk installed.
If this has happened to you, there are a number of potential causes, ranging from incompatible root management apps to issues with Magisk Hide. So to help you get to the bottom of the issue, we»ll go over seven solutions below.
Шаг 1. Избавьтесь от SuperSU и используйте MagiskSU с Magisk Hide
Наиболее вероятной причиной несоответствия профиля CTS является приложение для корневого управления, которое не скрывается от SafetyNet. Так обстоит дело с SuperSU от Chainfire, который является самым популярным средством управления корневым доступом.
Скорее всего, вы изначально рутировали свой телефон с помощью SuperSU ZIP или CF Auto Root, которые устанавливают SuperSU как приложение для управления root по умолчанию. Если ты это сделал, и тогда установленный Magisk, оставшиеся корневые двоичные файлы от SuperSU вызовут отключение SafetyNet.
Не пропустите: как переключиться с SuperSU на Magisk, чтобы обойти SafetyNet
Как только вы это сделаете, убедитесь, что в вашем приложении Magisk Manager включена опция «Magisk Hide». Оттуда вы можете захотеть скрыть дополнительные приложения с помощью Magisk Hide, что существенно мешает приложениям знать, что вы получили root-права.
Для этого перейдите в боковое меню навигации в приложении Magisk Manager и выберите «Magisk Hide». Отсюда может быть полезно установить флажки рядом с Google Play магазин а также Google Services Framework а также с любым другим приложением, с которым у вас возникли проблемы с SafetyNet.
![]()
![]()
Step 5: Custom ROM? Try a Custom Kernel
As I mentioned earlier, CTS
stands for «Compatibility Test Suite.» This is the process Google uses to verify that a device and its firmware meet certification standards, and to put it simply, a will never officially pass this test.

However, some custom kernels can help with this issue. The most popular kernel that»s been known to help with custom ROM incompatibility is Franco Kernel. It»s available for all Nexus, Pixel, and OnePlus devices, as well as the Redmi Note3, and the easiest way to install it would be to purchase the FKU app
, then tap the «Download» button on the main page. Otherwise, you can search your device»s XDA forum to find a free flashable ZIP.
![]()
![]()
For some custom ROMs (particularly Lineage OS), this option may not fully solve the problem. However, many apps that use SafetyNet only check one CTS-related aspect called «Basic Integrity,» and flashing Franco kernel will usually fix that aspect. So while Magisk Manager may still report a CTS mismatch, you may very well be able to use all of your apps now.
Finally, for Xiaomi users that are running a custom ROM, there»s another option. This Magisk module by developer Deic will reportedly make your phone pass the CTS test, so try installing it, then rebooting.
Шаг 12: Установите Magisk SELinux Manager
Это как бы вытащить большие пушки, и это может быть так же рискованно, как если бы вы восприняли это высказывание буквально. Android использует принцип, называемый Security-Enhanced Linux (SELinux для краткости), чтобы помочь поддерживать безопасность. По умолчанию любой запрос операционной системы, который явно не разрешен, отклоняется. Программное обеспечение работает только с минимальными привилегиями, обеспечивая некоторый контроль над ущербом от атак или ошибок обработки. В зависимости от корневого приложения, SELinux может мешать ему делать то, что вы хотите.
SELinux имеет два режима: «разрешающий» и «принудительный». В разрешающем режиме SELinux регистрирует нарушения политики, но не блокирует событие. В принудительном режиме регистрируются и блокируются все действия, нарушающие политику SELinux. Участник XDA Junior Jman 420 нашел и поделился способом включения разрешающего режима SELinux при загрузке, который может помочь в преодолении корневого кризиса, но также может быть рискованным предприятием.
С одной стороны, это прекращено, так что вы по своему усмотрению. Помимо всего прочего, есть просто некоторые инструменты и приложения, которые печально известны тем, что работают со сбоями или вообще не работают в принудительном режиме. И для многих людей укоренение слишком рискованно. Для других, лучшие вещи в жизни связаны, по крайней мере, с небольшим риском.
Изображение на обложке и скриншоты Делани Клатфелтер /
Before You Begin
This guide assumes you»ve already installed Magisk, which is a systemless root utility that can hide its presence from SafetyNet. If you haven»t already done this, head to get started.
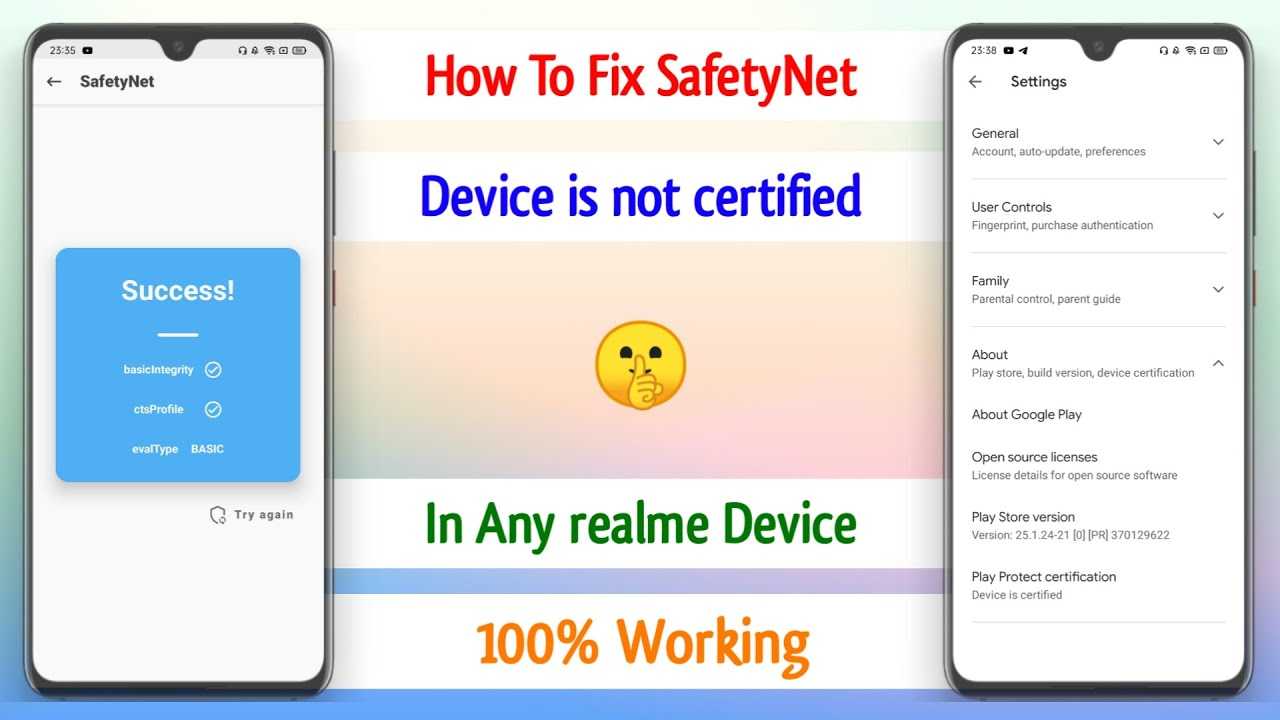
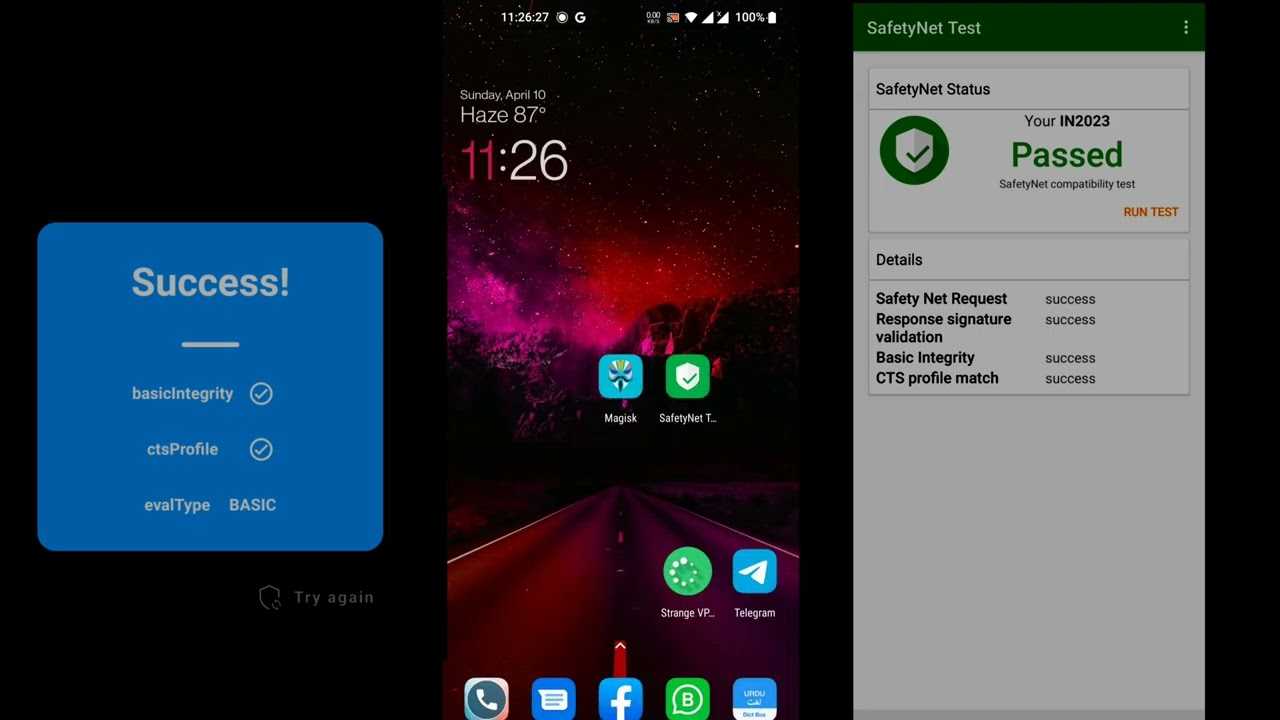
When it comes to actually checking your SafetyNet status, the easiest way to do that would be to open the Magisk Manager app and tap the «SafetyNet Check» button at the bottom of the screen. So while following this guide, periodically re-check your SafetyNet status by opening the Magisk Manager app, swiping down to refresh, then tapping the «SafetyNet Check» button again.
![]()
![]()
Checking SafetyNet status in Magisk Manager.
Switch From SuperSU to MagiskSU to bypass SafetyNet
CTS Profile Mismatch Error is, in majority cases, caused because of the root management app. SuperSU is one of the most popular root management app in the market. But unfortunately, it’s not systemless and doesn’t hide from SafetyNet. Therefore, it’s highly likely that you will face CTS profile mismatch errors. So, first thing you need to do is to switch from SuperSU to MagiskSU to Fix CTS profile mismatch errors. Follow below steps carefully to successfully switch from SuperSU to MagiskSU.
- Uninstall Xposed Installer if it’s already installed on your device. To keep using Xposed modules, you can install systemless version of Xposed using Magisk. Once it’s uninstalled, reboot your device.
- As you rooted your device so it’s obvious that you must have installed apps which changed the core system files. You need to uninstall all such apps, or undo any changes made in the system files. The easiest way to revert back all the changes is to Flash the Stock System Image of your phone.
- Now you need to Unroot your Android Device. To do so, launch SuperSU and head towards Settings. In Settings, you will find an option called “Full Root”, tap on it and then tap on Continue. Here tap on “Yes” when it asks you that if you want to restore the stock boot image.
- Next, it will ask if you want to restore the stock recovery image. Tap on “No” option as TWRP custom Recovery is required to flash Magisk.
- Now open the Magisk Manager App and head towards the Install section. Here tap on the option named “Download”. Once the file is downloaded, reboot your device into recovery mode. Once you are in TWRP menu tap on Install and select Magisk.zip from the MagiskManager folder. To install the ZIP file, slide the button to the right and when finished, tap on ‘Reboot System.’
- Now go to Magisk Manager App >> Settings >> here enable Magisk Hide, BusyBox , and Systemless hosts options. The last thing is to clear Google Play Store data, to do so go to Settings > Apps > Play Store > Manage Space > Clear Data.
This is it! This should fix CTS profile mismatch errors. If the error is still bothering you then head towards the next solution.
Что такое root-права?
Сразу оговорюсь — я не буду вдаваться в технические детали реализации самого процесса рутирования телефона, поскольку недостаточно компетентен в этом, да и статья не про это.
Простыми словами — это права суперпользователя, которые вы можете делегировать одним приложениям и отказывать в доступе к ним другим. С этими правами приложения могут использовать команду su и обходить стандартные ограничения Android, получать доступ к системным файлам и папкам, внедряться в память других процессов и так далее.
Зачастую, в схеме root имеются 2 части — сервер, который выполняет основную программную работу и клиент, который необходим для взаимодействия пользователя с первым, позволяя гибко настраивать систему выдачи этих самых прав.
Подробнее вы можете почитать на сайтах, как ни странно, компаний, разрабатывающих антивирусные решения, вроде Eset или Kaspersky, поскольку данный вопрос непосредственно связан с безопасностью системы Android.
Install a Custom Kernel
If you are using a Custom ROM then obviously your device won’t pass Google’s certification tests and as result might face CTS profile mismatch errors. However, to overcome this issue you need to install a custom kernel called “Franco Kernel”. And to install Franco Kernel you need to buy an app called “Franco Kernel Updater” or “FKU”. Once FKU is installed, open it and Tap on “Download” option.
By now you must have got ridden of the CTS Profile Mismatch Errors, but if, the error is still popping up then you must take the hard route. You will have to take things from scratch like flash Stock ROM, install TWRP, and flash Magisk ZIP. We hope it doesn’t come to this. Please let us know at which point you stopped facing CTS Profile Mismatch Errors.
Позволяющий осуществлять бесконтактные платежи. Но не успели владельцы Android-смартфонов порадоваться новым возможностям, как перед многими из них встала проблема. Приложение благополучно устанавливалось на устройство, но при попытке запуска смартфон выдавал сообщение следующего содержания: «Google Pay не поддерживается на этом устройстве. Нам не удалось проверить соответствует ли Ваше устройство стандартам безопасности, установленным для Google Pay. Причина может быть в том, что на нем настроен root-доступ, разблокирован загрузчик операционный системы или установлено неоригинальное ПЗУ». Что интересно, пострадала, как обычно, та часть пользователей, которая предпочитает иметь при себе не просто телефон для общения, а удобный и производительный инструмент для решения разного рода повседневных задач. Как вы уже, вероятно, догадались, это те, кто получил Root-права на свой смартфон и установил модифицированные прошивки с качественным переводом на русский язык, разблокировав при этом загрузчик (ознакомиться ). Еще интереснее то, что, к примеру, у смартфонов Xiaomi даже официальная еженедельная сборка для устройств этого популярного бренда не проходит проверку в Google Pay — приложение согласно работать лишь со стабильными версиями MIUI
, обновления которых происходят раз в несколько месяцев.
Magisk — The Universal Systemless Interface
Step 1: Get Rid of SuperSU and Use MagiskSU with Magisk Hide
The most likely cause of a CTS profile mismatch is a root management app that doesn’t hide itself from SafetyNet. This is the case with Chainfire’s SuperSU, which is the most popular root management out there.
Chances are, you originally rooted your phone using the SuperSU ZIP or CF Auto Root, which both install SuperSU as the default root management app. If you did that, and then installed Magisk, the leftover root binaries from SuperSU will cause SafetyNet to trip.
So if this is the cause of your CTS issues, you’ll need to uninstall SuperSU’s binaries and replace them with Magisk’s built-in root management app. But there’s one more wrinkle: If you have the Xposed Framework installed or if you’ve modified any system files using root access, you’ll need to undo those changes as well. Not to worry, though, we’ve outlined that entire process with a separate guide, so head to the following link to get squared away.
![Fix safetynet: cts profile mismatch errors [working guide]](https://miggim.ru/wp-content/uploads/1/4/d/14d3e68aa3519ea3902fdb4832c43661.jpeg)


Once you’ve done that, make sure the «Magisk Hide» option is enabled in your Magisk Manager app. From there, you may want to hide additional apps using Magisk Hide, which essentially prevents the apps from knowing that you’re rooted.
To do that, head to the side navigation menu in your Magisk Manager app and select «Magisk Hide.» From here, it may be helpful to tick the boxes next to Google Play Store and Google Services Framework as well as any other app you’re having SafetyNet issues with.
What is SafetyNet?
Safety net is the Topmost Security measure that ensures the device is safe to run some of the android application mostly Banking applications. Recently it was developed by the google to improve the security on android platform.
You might herd about the Android Pay which is introduced by the Google available some countries now. This app will check the safety net thing and if it confirms that then it will work. As like this one, most of the banking applications follow the same procedure to run their apps on the android device.
Even it spread to Netflix. Only Netflix works when it confirms that the device passes the safety net. By Rooting device, you will lose warranty along with the Safety Net pass. That may tend to your device is out of support for these kinds of apps.
Bypass SafetyNet Issue with Universal Safetynet FIX.
If you are using the SuperSu root binaries, then you must switch to the Magisk Su. Here is the best guide for installing Magisk Su. After installing Magisk Root binaries then this process will work for you as like a charm.
Fix Safetynet issue possible with the Magisk Module which is called as Universal Safety Net Fix. Deiki is the XDA forum member and the creator of this Module.
Currently, it is in Beta version so in some of the device it may not work properly. I recommended you to bookmark this page it will help you to get the app updates quickly. Or you will check the updates from the Magisk Manager.
Requirements:-
- Magisk v12+ ()
- Magisk Manager
-
New*
Latest Module By Didgeridoohan
that will help you to Pass the Safetynet measure. – Download
- (Try this one, if above not works for you) Safetypatcher {Module} by hackintosh5 – Download
Step 3: Change SELinux to Enforcing
If you»re still stuck, this next step is rather simple, though it would only apply if you»ve previously used an app to set your SELinux mode to «Permissive.» Magisk attempts to hide your SELinux status from SafetyNet, but it»s not always perfect, so your best bet is to set SELinux back to its default mode of «Enforcing.»
So open whichever SELinux mode changer app you used to set the mode to «Permissive» in the first place, then toggle the setting back to «Enforcing» and reboot. Sadly, we can»t share apps that change SELinux modes since Google blacklists sites that do, so if you»ve uninstalled the app, you»ll have to find it again on your own. That»s easy, though — just head to the XDA forums and search for «SELinux.»